Compost
Why Compost?

Compost bins at the Acton Community Garden Food Waste Education Hub
Did you know? Almost 50% of household waste is organic. Composting is a way to recycle this waste into organic fertiliser to feed your garden
Composting is a great way to return your food waste to the soil and improve the soil in your garden at the same time. Organic material is broken down by micro-organisms, and with a small amount of work, the result is soft, sweet smelling compost.
Composting reduces greenhouse gas emissions. Each year on average, every Australian produces 180 kilograms of food and garden waste. If sent to rot in landfill, the same amount of food and garden waste creates 15.3 kilograms of methane, a gas with 21 times more impact on climate change than carbon dioxide. Composting household food scraps can significantly reduce your carbon footprint.

Watch our video about how to compost and worm farm in Canberra. Made in collaboration with Floriade
What Compost Needs
A compost heap is full of thousands of living microorganisms. Living things need the same things that we do: oxygen, water and a balanced diet.

Compost needs: browns, (carbon) greens, (nitrogen), air and water.
Brown and green
To help everything break down correctly, compost must have the right amount of nitrogen-rich or ‘green’ matter, to carbon-rich or ‘brown’ material. Nitrogen rich material includes almost all food scraps, lawn clippings and green garden waste. Carbon rich material includes straw, dead leaves and shredded paper. Compost piles should be 60% ‘greens’ and 40% ‘browns’.
Wet and dry
Compost needs plenty of oxygen to break down properly. This is why most systems involve turning the compost, to add air. Adding plenty of dry material can also help to keep compost aerated. How often compost should be
Compost also needs to have moisture in it. Often, food scraps will be moist enough on their own, but in hot dry conditions, water may need to be added.
Many ways to compost
Different composting methods will suit different households.

Plastic Cones
A common method of composting at home involves layering green and brown materials inside a plastic, bottomless bin. The bin can be easily lifted off the pile and the compost shovelled back in. Alternatively, a corkscrew shaped ‘compost aerator can be drilled down into the bin and turned to add air. Turning the compost in this way adds oxygen and allows it to break down faster. Most households find they need two bins, one to add scraps to, and one for compost that is ‘resting’ as it breaks down.
Composting bays
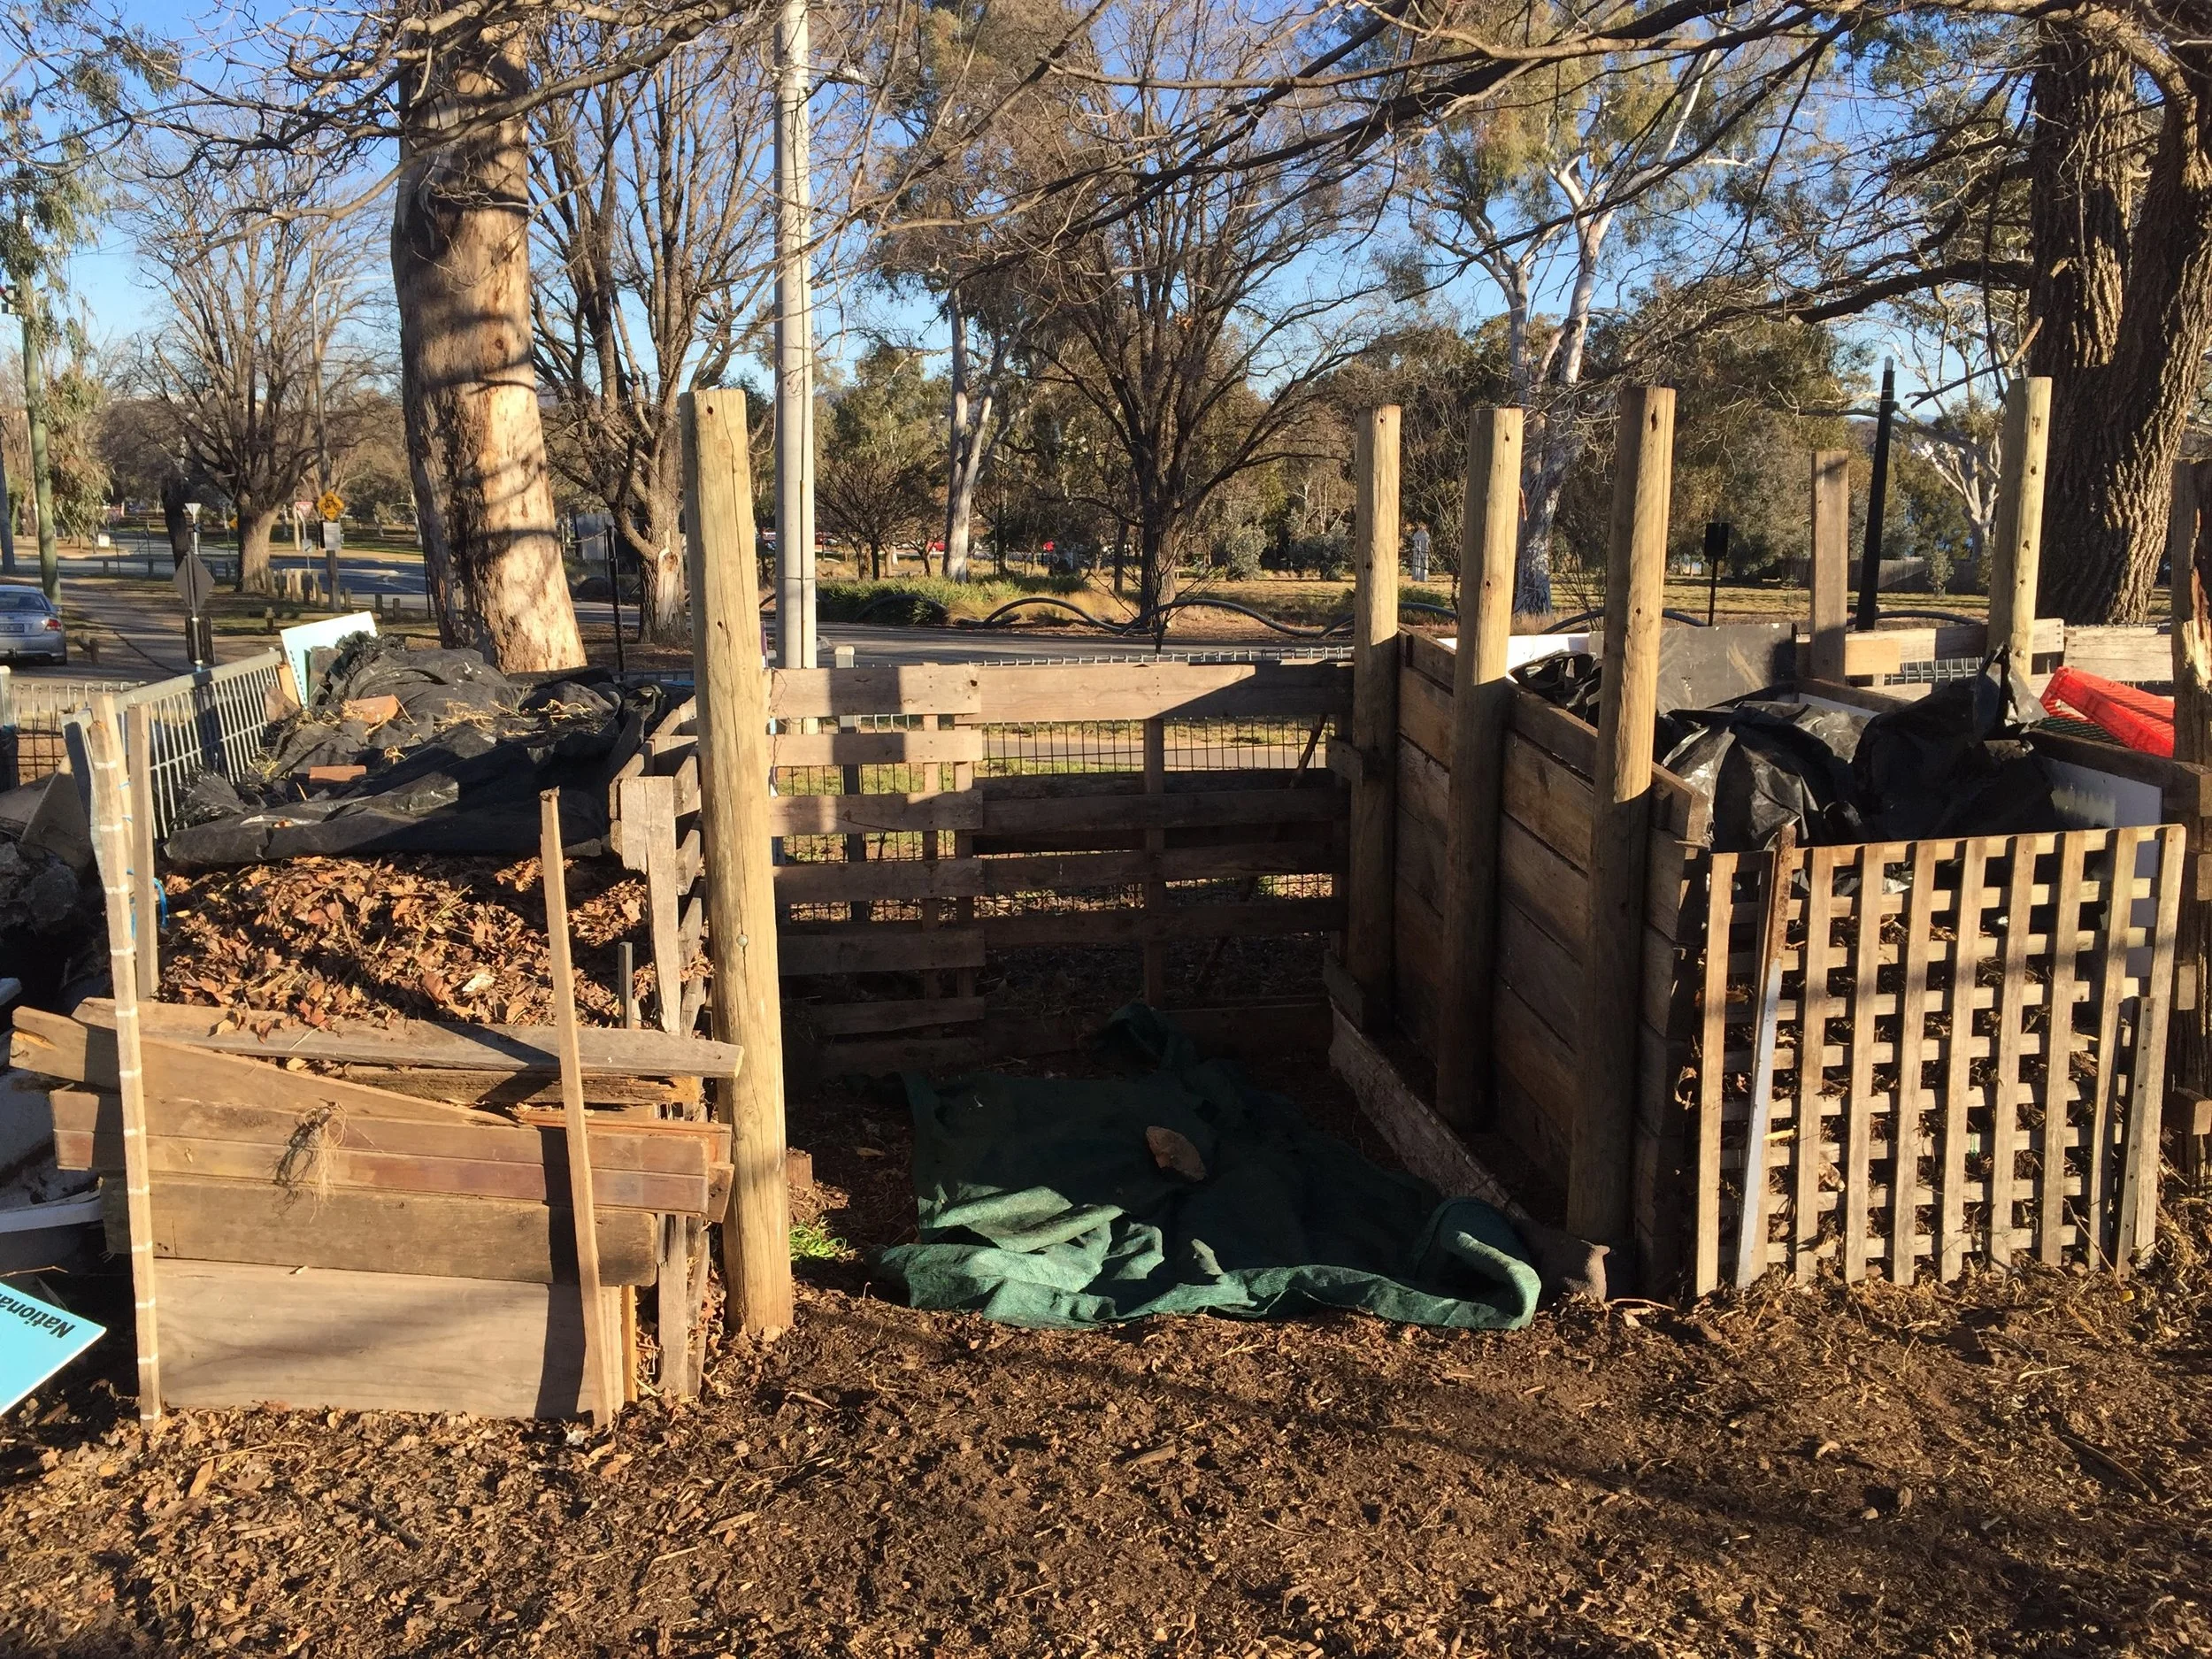
Compost piles can be made using a wide range of materials. These composting bays were constructed out of recycled timber. Layers of ‘greens’ and ‘browns’ are added, and a tarpaulin can be placed on top to prevent the heap drying out. A layer of hay or garden soil could be used in place of the tarpaulin. To add oxygen, the compost pile is shovelled into an adjacent bay.
Easy food scrap disposal
Just bury your food scraps and don’t worry about it!
If you’re not concerned with making soil for the garden, but you still want to keep your food scraps out of landfill, follow this method.
Find space for two compost piles, they can be the black bins, pits, or home-made wooden bays. Find a carbon source, these are your ‘browns’. ‘Browns’ can be anything from shredded paper to dry autumn leaves. Look around your home for ‘browns’ that are being thrown out anyway. One bin will be your ‘active’ pile and one will be your ‘resting’ pile. Begin by adding your food scarps into one of the piles. Every time you add food scraps, make sure you add the same volume of dry, brown material. This will prevent your compost pile from developing unpleasant odours. Once the pile or bin is full, begin adding your ingredients to the other pile, and let your first pile rest. Once the heap has rested for 6-12 weeks, it should have turned mostly brown and earthy and be reduced in size by about 50%. You can then bury the pile, or spread it on your garden. The resulting compost might not be as evenly decomposed as if you had turned the pile regularly, but given time, anything organic will break down.
Chickens

Chickens enjoying their deep litter system at the Acton Community Garden
Chooks will eat all sorts of food scraps and they also make great pets! Chickens are omnivores, and enjoy a wide diet including grain, plants, and insects. The chickens at the Acton Community Garden are fed on pellets, but have their diet supplemented with kitchen scraps and garden waste. Chickens will sometimes get sick if they eat too much bread or pasta, and they should never be fed large amounts of sweet, salty or fatty foods.
Deep litter system: using chickens to compost. Chickens instinctively turn the soil by scratching with their feet. You can get chickens to ‘compost’ for you by creating a deep litter system. Fill a chicken enclosure with carbon or ‘brown’ material until it is 30cm deep. Dry autumn leaves are a good example of ‘browns’. Deposit food scraps into the enclosure and let the chickens turn the compost as they scratch for insects. Make sure that the enclosure always has lots of carbon or ’browns’ in it to prevent unpleasant odours. Chicken manure, which is rich in nitrogen will be added to the pile. Once the leaves and food scraps have broken down to resemble soil, dig it into the garden and replace with fresh carbon material.
Worm Farms
Worm farms turn your food leftovers into rich soil-like ‘castings’ which are great for feeding house and garden plants, adding to seedling mixes and potting soils or top-dressing around plants. The liquid produced by your worm farm is full of nutrients – dilute and use it on your plants! Worm farms also work well if you live in a unit or are short of space. They can work well in small, shaded spaces such as a garage or carport.
We recommend a rectangular worm farm with a couple of trays. There are different layers for bedding and kitchen scraps. Worms travel up through the layers of trays to access the food on the top, and retreat down to the bedding layer at other times. ‘Bedding’ is a mixture of soil and compost, and also some dry leaves or newspaper. This bedding layer is a habitat for the worms to live, and to retreat from the kitchen scrap layer if the conditions for them aren’t quite right there.

Worms are sensitive to extreme temperatures. Make sure that the worms are located somewhere shady and cool for summer. If a worm farm gets too hot or dry the worms are at risk of dying. Worms should also be protected from extreme cold. In Canberra winters, the temperature regularly gets down below freezing, so worms should be kept somewhere where they are protected from the frost. During the cold, worm activity will slow down and may not be able to accept as many food scraps. A worm farm could be moved to a warmer, sunnier position in winter to counteract this.
Set up your worm farm with two trays to begin with, one for bedding and one for feeding, as well as the bottom layer for catching drips. Your worms won’t live here, they only live in the trays that have the mesh bottoms. The feeding layer should be at the top, and have a mixture of bedding and food scraps. Make sure that there are no air gaps between your trays so that the worms can travel up and down.
· We recommend feeding your worms twice a week to begin with.
· Worms don’t like foods that are acidic such as garlic, onion and citrus peel.
· Worms don’t like being overfed, so start with small amounts of food until you know how much your farm can handle.
· Begin by feeding your worms raw vegetable scraps. Worms may not be able to deal with large amounts of cooked food.
· It’s easier for worms to eat small pieces of food, so chop up any large items to speed up processing time.
· Remember to keep the worm farm well drained, but also ensure that the bedding doesn’t dry out. Worms need an environment that is damp but not soggy.
· Remember to replenish the bedding layer by adding carbon or ‘browns’ such as dry leaves, shredded paper or cardboard.
Your worm farm will need to be drained regularly – this product, called ‘worm tea’ is an effective fertiliser for the garden or houseplants.
When the trays become full, a new tray can be added to the top for food scraps, and the bottom tray’s contents can be used in the garden. The
See this simple chart to see how it works and this troubleshooting guide, if you’re stuck.
